How to Cut Your Own Hair at Home — The Clipper Guide for Men
Home haircuts have gotten complicated with all the conflicting advice flying around. Spend $400 on gear. Buy a professional-grade fade machine. Watch 47 YouTube tutorials before touching your own head. Here’s the reality: I’ve been cutting my own hair for about six years now — started after my barber quietly raised his prices to $35 a visit while I was coming in every three weeks. That math got ugly fast. After a few genuinely catastrophic early attempts involving an unplanned #1 buzz in January, I figured out a system that gives me a clean, consistent cut in under 20 minutes. This guide covers what I actually use: the guard numbers, the mirror setup, the neckline trick, and the mistakes I made so you don’t have to repeat them.
This article includes affiliate links. We may earn a commission at no extra cost to you.
Equipment Checklist
Frustrated by gear lists recommending $400 worth of tools for something that costs $30 to do properly, I put together the shortest honest version of what you actually need. It’s five things. Not fifteen. Five.
- Clippers with a full guard set — I use the Wahl Magic Clip Cordless, around $60 on Amazon. Guards 1 through 8, included. The Wahl Color Pro at $30 works fine for beginners too. Both get the job done. Don’t overthink the brand.
- A hand mirror — Any mirror works. I grabbed a $7 one from Target and it’s still going strong three years later. Non-negotiable for seeing the back of your head.
- A bathroom mirror — Your standard wall mirror. Used in combination with the hand mirror to see the back — more on this below.
- A cape or old towel — Drape it over your shoulders before you start. Hair clippings in your shirt collar are miserable. An old beach towel is honestly perfect.
- A spray bottle with water — Slightly damp hair moves through clipper blades more smoothly and gives you a more accurate read on the final length.
That’s the whole list. No professional barber chair. No neck duster. No separate trimmer — at least not for the first few months. Learn the basics with basic gear first.
One thing people forget — and I forgot this for an embarrassing stretch of time — is clipper oil. A few drops on the blade before each session keeps the motor running clean and stops the blade from pulling hair instead of cutting it. Most clipper kits include a small bottle. Use it every single time.
Guard Number Basics
Probably should have opened with this section, honestly. Everything else in this guide depends on understanding what guard numbers actually mean — most people just guess at them until something goes sideways, and sideways with a #1 guard is a rough place to be in November.
Each guard number represents a length in eighths of an inch. So:
- Guard #1 — 1/8 inch. Very short. Close to a buzz, not quite skin.
- Guard #2 — 1/4 inch. Standard short sides. Common starting point.
- Guard #3 — 3/8 inch. Short but with visible length. Good for a casual top.
- Guard #4 — 1/2 inch. Medium length. Looks fuller on top.
- Guard #5 — 5/8 inch. Getting into textured territory.
- Guard #6, 7, 8 — Progressively longer. Most guys with short-to-medium styles rarely go above a 5.
The most common combination I use — and where I’d suggest starting — is a #3 on top and a #2 on the sides. It’s clean, low-maintenance, and forgiving when you make a small mistake. The blend line between those two guards is subtle enough that minor unevenness doesn’t announce itself.
For a sharper look, a lot of guys run #3 on top, #2 on the sides, and use a #1 right at the fade line above the ears. That’s the setup covered in the taper section below. But walk before you run — if you’ve never cut your own hair, start with a single guard all over and build complexity from there.
The Simple Self-Buzz Cut — Beginner
This is the cut I did for my first year. One guard number, entire head. Not the most stylish option — but it’s clean, it’s fast, and it’s nearly impossible to mess up badly. Once you understand how the clippers move and how to navigate the mirrors, you can start adding complexity without the anxiety.
The Cut — Step by Step
- Choose your guard. First-timers, go with a #4 or #5. Not so short that a mistake becomes a crisis, but short enough to look intentional.
- Start at the front hairline. Move the clippers from front to back — with the grain of hair growth. Light pressure. You’re gliding, not scrubbing.
- Work in rows. Front to back, left side to right. Overlap each pass slightly so you don’t leave strips.
- Do the sides. Move the clippers upward from the bottom of the sideburns. Let the guard do the work here.
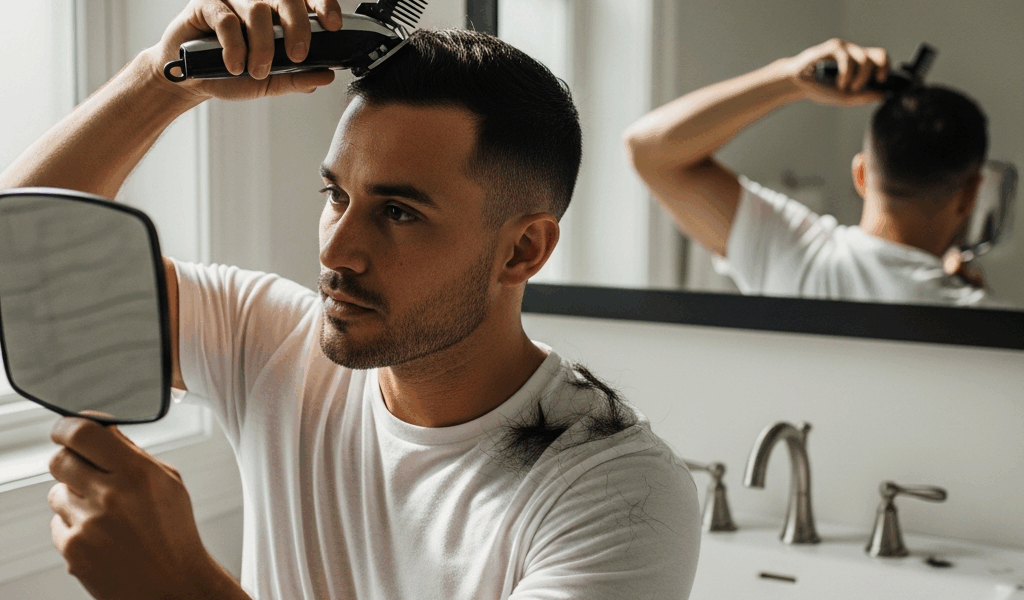
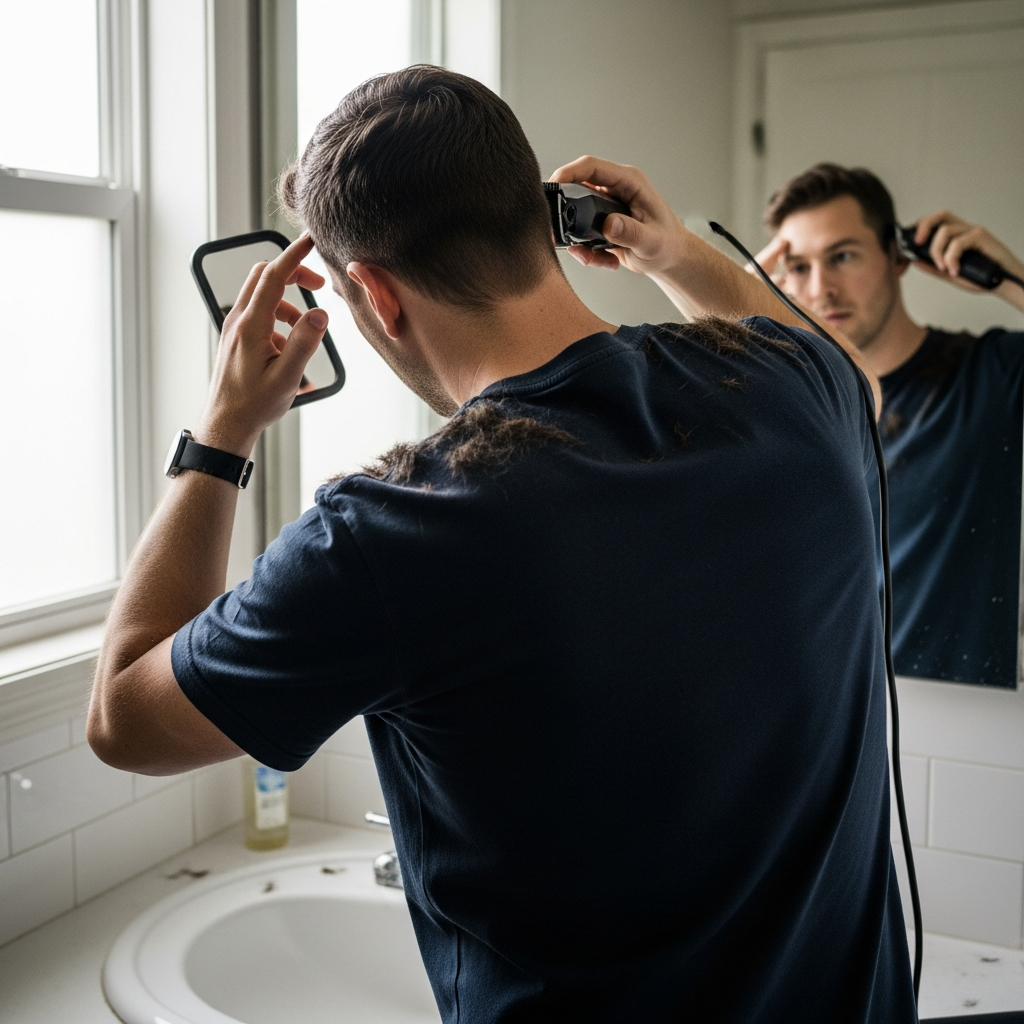
- Tackle the back using the mirror setup. Hold the hand mirror behind your head with one hand while looking at the bathroom mirror. You’ll see the back of your head reflected back at you — it takes a session or two to get comfortable with the spatial reversal. Go slow.
- Make a second pass over everything to catch anything you missed on the first run.
The whole process takes about 10 minutes once you’ve done it twice. My first attempt took closer to 25 — I kept stopping to check the mirror from three different angles. That’s fine. Don’t rush.
The Neckline — Don’t Ignore It
A messy neckline makes an otherwise clean cut look sloppy immediately. Remove the guard entirely and, with the blade flat against your neck, create a straight line across the bottom. Some guys prefer a rounded neckline following the natural curve — but a straight line is easier to pull off solo and looks sharp. Go slowly here. The no-guard blade is unforgiving on a crooked line.
Adding a Fade — The Home Taper Technique
Once the basic buzz feels comfortable, the natural next step is a taper — shorter sides blending up into slightly longer on top. That’s what makes a taper endearing to us home-cut guys: it looks like real effort without being dramatically harder to do. Takes maybe 5 extra minutes. Makes a noticeable difference in how polished the result reads.
The Setup
Start with your #3 guard on top, same front-to-back motion from the beginner cut. Cover the entire top of the head, set the clippers down, then switch to your #2.
Cutting the Sides
With the #2 guard, work upward from the bottom of the sides — stopping roughly an inch above the ear. Don’t go all the way up. You’re creating a shorter zone at the bottom that will blend into the #3 on top. Take your time at the stopping point. The blend is the whole cut.
Blending the Line
This is the part that intimidated me the longest. Frustrated by the assumption that blending required professional training, I avoided it for months and just did uniform buzz cuts instead. Don’t make my mistake. Here’s what actually works: hold the clippers with the #2 guard still attached, start at the stopping line, and flick the clippers outward as you move upward. You’re barely grazing the hair above the line — just enough to soften the transition. Three or four light passes does it.
Alternatively, switch to your #3 and make one pass over just the blending zone, moving upward. Either method softens the line. Both work fine.
The Fade Line at the Temple
For a cleaner finish, remove the guard entirely and — holding the blade flat — trace just above the natural hairline at the temple. This defines the shape without going into full skin-fade territory. Small detail. Looks professional. Check the hand mirror frequently and go slowly here.
The 5 Mistakes That Ruin Home Haircuts
I’ve made every single one of these. Some of them more than once, in the same haircut.
Mistake 1 — Going Too Short Too Fast
This is the classic. You start with a #4, think it looks a little long, switch to a #3, then a #2, and suddenly you’re staring at a #1 all over that you absolutely did not want. You cannot put hair back. Start longer than you think you need to — you can always go shorter on the next pass, but you cannot go the other direction until it grows out. Give it three weeks. It’s annoying.
Mistake 2 — An Uneven Neckline
The neckline is the first thing people notice on the back of your head — it signals immediately whether the cut happened at a barbershop or a bathroom. A crooked line, or one that dips too low in the center, gives the game away. Take the most time on this step proportionally. Use the hand mirror. Check twice before you commit to the line.
Mistake 3 — Missing Behind the Ears
There’s a patch of hair directly behind the ear that hides in a curve — the guard can’t reach it without repositioning your angle. After finishing the main cut, tilt your ear forward with your free hand and run the clippers over that area. Takes three seconds. Matters more than you’d think.
Mistake 4 — Rushing the Blend
A rushed blend leaves a visible line instead of a gradient — the sharp edge between your #2 sides and your #3 top is a dead giveaway. Slow down at the blending zone. Make more passes. The flicking motion needs to stay gentle. If it still looks harsh after a few passes, go over it once more with the longer guard before calling it done.
Mistake 5 — Forgetting to Oil the Clippers
Dry blades pull. Pulling hurts and — more relevantly — pulling means the cut is uneven, the blade grabbing hair instead of gliding through it cleanly. Two drops of clipper oil on the blade before you start. The small Wahl oil bottle that ships with most kits costs about $3 to replace when it runs out. A bottle lasts roughly a year of regular use. There’s no reason to skip it.
Cutting your own hair is one of those skills that compounds. The first cut is rough. The second is noticeably better. By the fifth or sixth, you’re doing it without much thought. The equipment investment for a solid clipper kit pays for itself after two or three haircuts at standard barbershop prices — and after that, every cut is essentially free. That’s a genuinely good deal.




Stay in the loop
Get the latest find my haircut updates delivered to your inbox.